Share a local web page with a temporary tunnel
Getting started
Tested setup: I ran every command in this guide top-to-bottom on a fresh Ubuntu 24.04 virtual machine (4 CPUs, 8 GB RAM) on 13 August 2026 — twice. The second run followed the exact reader path below. Versions at test time: cloudflared 2026.8.1.
Found a problem? Tell me via the contact page.
What you'll end up with
A temporary public link to a web page running on your computer, using Cloudflare Tunnel. No router port-forwarding rule or Cloudflare account is needed for this walkthrough.
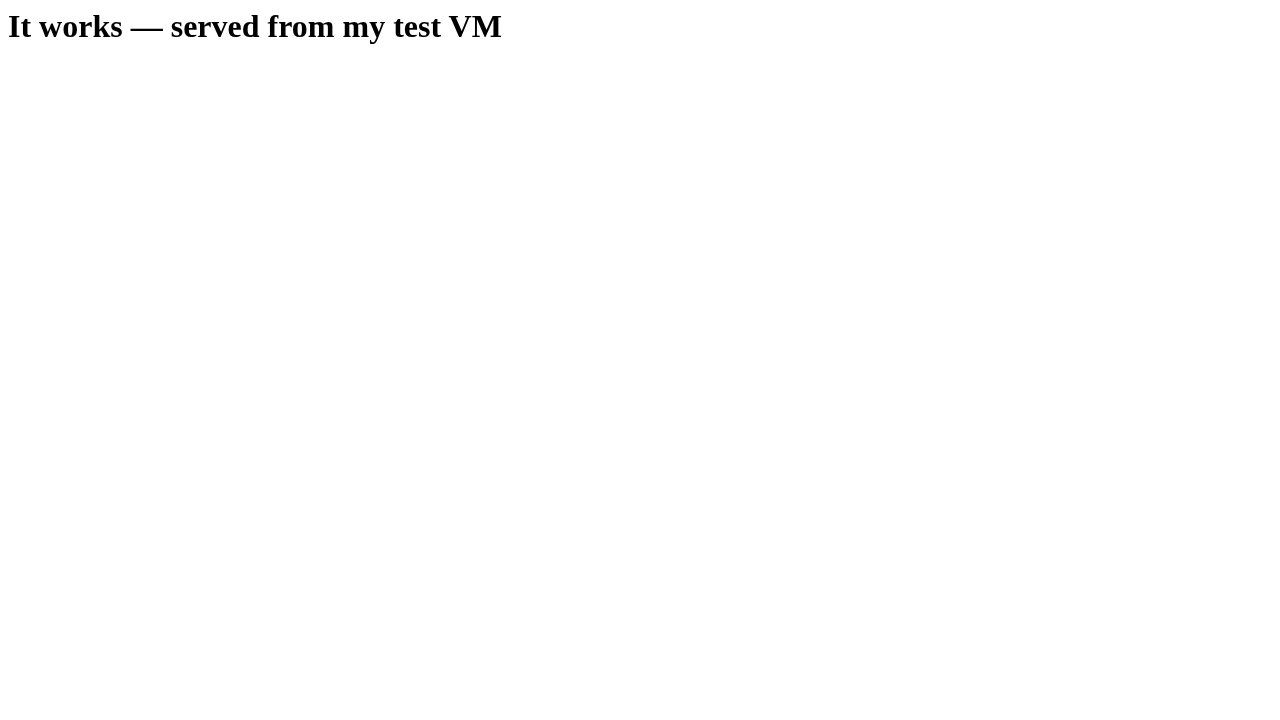
Here is the proof from my test run: the page on my machine, loaded over the public internet through Cloudflare's relay.
Who this is for
Start on a machine where you can open a terminal and install software. Follow the steps in order.
Time and cost
I timed the whole reader path on a fresh machine. The install took 20 seconds, and the tunnel printed its public address 12 seconds after I started it. The full run — bare machine to public page — was about 1 minute of command time. Budget 20 minutes so you can read as you go. Cost: free. No account, domain, or card for this temporary tunnel.
Words you'll meet
- Terminal — the window where you type commands. Everything below happens there. (basics)
- Port — a numbered door on your computer where a program listens for connections. (basics)
- Tunnel — a program on your machine makes one outgoing connection to a relay, and visitors reach you back through it. No inbound door needs opening. (basics)
- URL — a web address, like
https://example.com. (basics) - HTTPS — the padlocked version of a web connection; traffic is encrypted on the way. (basics)
- Package repository — a software shelf your system trusts and installs from. We add Cloudflare's official one. (basics)
Placeholders
Anywhere you see CAPS-WITH-DASHES, swap in your own value. This guide uses one you type: YOUR-RANDOM-WORDS-HERE — the random address the tunnel prints for you in Step 5.
Before you start
- A computer running Ubuntu 24.04 that you can type commands on, with a user that can use
sudo. - If the machine is brand new, do Set up a new Ubuntu server first.
- A phone with mobile data, to prove the page really is public.
The steps
You will have two terminals open by the end: one running your page, one running the tunnel. I will say which is which.
Step 1 — Make a small page to serve
We need something to show. A folder with one HTML file is plenty.
Make a folder for it:
mkdir ~/demo-page
Move into it:
cd ~/demo-page
Now create the page. This writes one line of HTML into a file called index.html — the same line my test served:
echo '<h1>It works — served from my test VM</h1>' > index.html
Check it worked. Print the file back:
cat index.html
The important line is:
<h1>It works — served from my test VM</h1>
That exact line is what we will later read from the internet.
Step 2 — Serve the page locally
Python is already on Ubuntu and includes a tiny web server. This command serves the current folder on port 8000 and keeps running until you stop it.
In your first terminal, inside ~/demo-page, run:
python3 -m http.server 8000
You should see something like:
Serving HTTP on 0.0.0.0 port 8000 (http://0.0.0.0:8000/) ...
Leave it running. Each time someone fetches the page, a log line appears under the banner. From my test run:
127.0.0.1 - - [13/Aug/2026 16:28:58] "GET / HTTP/1.1" 200 -
The 200 means "served successfully".
Check it worked. Open a second terminal and ask your own machine for the page:
curl http://localhost:8000
A passing run includes:
<h1>It works — served from my test VM</h1>
That line came back through a real web request. The page works, but only on your machine. Now we make it reachable.
Step 3 — Add Cloudflare's official software source
Cloudflare runs the tunnel service. Their program, cloudflared, is not in Ubuntu's own shelves, so we add Cloudflare's official repository — the way their docs recommend, not a random script.
First, fetch Cloudflare's signing key. Your system uses it to check that packages really come from Cloudflare:
curl -fsSL https://pkg.cloudflare.com/cloudflare-main.gpg | sudo tee /usr/share/keyrings/cloudflare-main.gpg > /dev/null
Then tell Ubuntu where the shelf is. This writes one line into a file that apt reads:
echo 'deb [signed-by=/usr/share/keyrings/cloudflare-main.gpg] https://pkg.cloudflare.com/cloudflared noble main' | sudo tee /etc/apt/sources.list.d/cloudflared.list
Check it worked. Print the file back:
cat /etc/apt/sources.list.d/cloudflared.list
The important line is:
deb [signed-by=/usr/share/keyrings/cloudflare-main.gpg] https://pkg.cloudflare.com/cloudflared noble main
The part that matters is signed-by=/usr/share/keyrings/cloudflare-main.gpg — the key and the shelf are tied together.
Step 4 — Install cloudflared
Refresh the package lists so Ubuntu notices the new shelf:
sudo apt-get update
Now install the tunnel program:
sudo apt-get install -y cloudflared
Check it worked. Ask it for its version:
cloudflared --version
You should see something like:
cloudflared version 2026.8.1 (built 2026-08-13-13:51 UTC)
Your version may be newer — that's fine. (Cloudflare ships fast: the version bumped between my two test runs on the same day.)
Step 5 — Start the tunnel
This is the whole trick in one command. cloudflared makes an outgoing connection to Cloudflare and asks for a temporary public address. Anyone visiting that address gets routed back down the same connection to your port 8000.
In your second terminal, run:
cloudflared tunnel --url http://localhost:8000
After a short wait — 12 seconds in my timed run — it prints your temporary address in a box.
Check it worked. Look for the trycloudflare.com line in the output. In my test run it was:
[...snipped...]
INF |  Your quick Tunnel has been created! Visit it at (it may take some time to be reachable):  |
INF |  https://hoped-pond-href-solved.trycloudflare.com                                          |
[...snipped...]
Yours will be a different random set of words. That is expected — the address is new every run. Leave this terminal running too.
Step 6 — Check access from another network
Take out your phone. Turn off Wi-Fi so it uses mobile data — that guarantees the request comes from outside your house. Type the trycloudflare.com address into the phone's browser.
You should see the page from Step 1, like my screenshot at the top of this guide.
Check it worked from the machine too. In a third terminal (or after stopping nothing), fetch your own public address — use your address, not mine:
curl https://YOUR-RANDOM-WORDS-HERE.trycloudflare.com
A passing run includes:
<h1>It works — served from my test VM</h1>
That request left your machine, crossed Cloudflare's network, and came back through the tunnel.
Step 7 — See that no door was opened
This is my favourite part. The tunnel works without any new listening port facing the world. You can check that claim rather than trust it.
ss -tnap
Your output will vary, but look for (trimmed from my test run):
State  Recv-Q Send-Q Local Address:Port  Peer Address:Port Process
LISTEN 0      4096         0.0.0.0:22         0.0.0.0:*
LISTEN 0      4096       127.0.0.1:20241      0.0.0.0:*    users:(("cloudflared",...))
LISTEN 0      5            0.0.0.0:8000       0.0.0.0:*    users:(("python3",...))
ESTAB  0      0    YOUR-SERVER-IP:53148 104.16.231.132:443 users:(("cloudflared",...))
[...snipped...]
The line that matters is the one marked ESTAB: a single outgoing connection to Cloudflare on port 443.
A listener to note: cloudflared does open one small listener of its own, on 127.0.0.1:20241 — its own statistics page. The 127.0.0.1 means it answers this machine only; nothing outside can reach it. The other listeners are ones you already had: SSH (:22) and your demo server (:8000). Your web server still listens on the machine; the point is your router and firewall needed no inbound rule at all.
Limitations
- The address is random and temporary. It changes every time you run the command, and dies when you stop it. This is for demos and quick sharing, not for anything you would bookmark.
- This is not production hosting. No uptime promise, no custom name. When you want a real address on your own domain, that is the next guide.
- Cloudflare can see the traffic. Visitors' requests pass through Cloudflare's machines. Fine for a demo page; think twice before tunnelling anything private this way.
Something went wrong?
My recorded run came back clean, so I have no captured failures to show you. One situation follows from how the pieces fit: you see a Cloudflare error page at your public address → the tunnel is up but your local server is not answering on that port → go back to Step 2 and check the first terminal is still running python3 -m http.server 8000.
Undo all of this
Stop the tunnel: go to its terminal and press Ctrl+C. The public address dies with it.
Stop the page server: go to the first terminal and press Ctrl+C there too.
Remove the tunnel program:
sudo apt-get remove --purge -y cloudflared
Your output will vary, but look for:
The following packages will be REMOVED:
  cloudflared*
0 upgraded, 0 newly installed, 1 to remove and 26 not upgraded.
After this operation, 39.8 MB disk space will be freed.
Removing cloudflared (2026.8.1) ...
Purging configuration files for cloudflared (2026.8.1) ...
The important line is Removing cloudflared — the program is gone.
Remove Cloudflare's repository entry:
sudo rm /etc/apt/sources.list.d/cloudflared.list
Remove their signing key:
sudo rm /usr/share/keyrings/cloudflare-main.gpg
Refresh the package lists so apt forgets the shelf:
sudo apt-get update
You should see something like:
Hit:1 http://archive.ubuntu.com/ubuntu noble InRelease
Hit:2 http://security.ubuntu.com/ubuntu noble-security InRelease
Hit:3 http://archive.ubuntu.com/ubuntu noble-updates InRelease
Hit:4 http://archive.ubuntu.com/ubuntu noble-backports InRelease
Reading package lists...
No pkg.cloudflare.com line any more — that is the proof the shelf is forgotten.
Delete the demo page:
rm -r ~/demo-page
Check it worked. Ask for the program one last time:
cloudflared --version
The important line is:
cloudflared: command not found
That error is the expected result. When I tested this undo it took under a minute, and the machine was back to its starting state.
Where to go next
- A real address for your services: named Cloudflare Tunnel + Caddy — the same idea, but with your own domain, a permanent address, and the tunnel running as a service.
- Official docs: developers.cloudflare.com/cloudflare-one/connections/connect-networks/ (Cloudflare Tunnel).
Last tested: 13 August 2026 on Ubuntu 24.04.4 (full reader path, including undo). Versions: cloudflared 2026.8.1.